Performing a synchronization (Sync)
Suitable settings for the transmitter must have been made in the Transmitter, Frequency and Squelch submenus in the CH1 Settings or CH2 Settings.
There are two options to start a synchronization.
Option one:
 button.
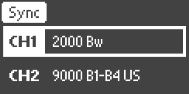
 The receiving channel selection appears.
► 
 button to start the synchronization.
Option two:
 button to start the synchronization.
 Ba selecting either CH1 Settings or CH2 Settings, you already preselect the receiving chanal with which the transmitter is to be synchronized. This is why the receiving channel selection does not appear.
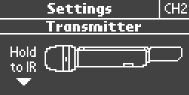
Once the synchronization has been started, Hold to IR appears on the panel and the infra-red interface flashes blue.
► 
► 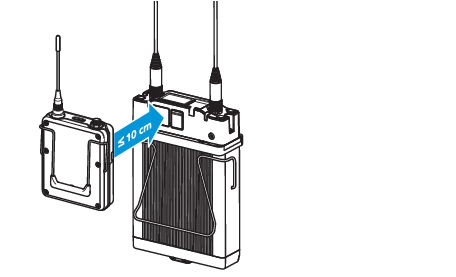
The frequency set on the EK 6042 is transferred to the transmitter. If the transfer was successful, the status LED of the corresponding receiving channel lights up green - provided that the transmitter is not muted. The radio link is ready for immediate use. If the transfer fails, the message Failure appears on the display panel