Performing an automatic configuration (Auto)
No manuel settings are required. The EK 6042 automatically determines suitable settings for the Transmitter, Frequency and Squelch submenus.
 button.
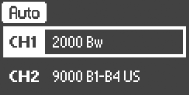
 The recieving channel selection appears.
► 
 button to start the automatic configuration.
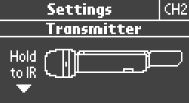
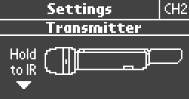
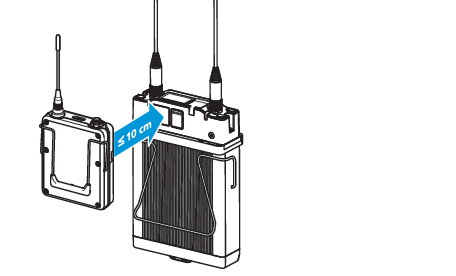
 Hold to IR appears on the display panel and the infra-red interface flashes blue.
► 
► 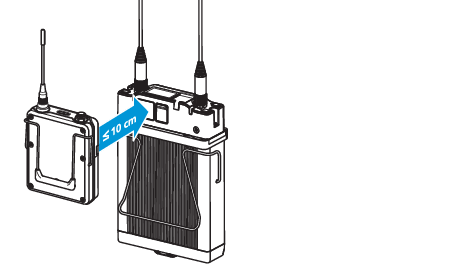
The EK 6042 recognizes the transmitter and its frequency range. Subsequently, the infra-red interface stops flashing blue.
► 
The EK 6042 now automatically determins a suitable frequency as well as the noise level in the environment and makes the corresponding settings to the Transmitter, Frequency and Squelch submenus.
Then Hold to IR appears again on the display panel and the infra-red interface flashes blue again.
► 
► 
The determined frequency is transferred to the transmitter. If the transfer was successful, the staus LED of the corresponding receiving channell lights up green.
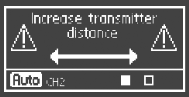
Die ermittelte Frequenz wird auf den Sender übertragen. If the transfer was successful, the status LED of the corresponding receiving channel lights up green - provided that the transmitter is not muted. The radio link is ready for immediate use. If the transfer fails, the message Failure appears on the display panel.
Die ermittelte Frequenz wird auf den Sender übertragen. If the transfer was successful, the status LED of the corresponding receiving channel lights up green - provided that the transmitter is not muted. The radio link is ready for immediate use. If the transfer fails, the message Failure appears on the display panel.